

Kubernetes and CI
Give engineers kubectl access to a private cluster, and CI jobs narrow, short-lived access, without exposing the API server.
What you will achieve
Engineers run kubectl against a private cluster from their laptops, and CI jobs reach only what they deploy to.
The API server stays off the public internet. Runners come and go without filling the device list.
When to use this
This page covers two jobs, in this order:
- Reaching the cluster - engineers need the API server, and perhaps a few Services. Steps 1 to 4.
- Giving CI access - runners need the API server for minutes, then disappear. Steps 5 and 6.
Keep the two apart. Never give CI the cluster's key: every runner would join the routing device's group and start routing traffic for the cluster.
What you need
The rows marked Required are enough to reach the cluster. CI also needs the Optional row.
| What | Why | |
|---|---|---|
| Required | The Owner or Admin role in the dashboard | For the enrollment keys and your member page |
| Required | kubectl access to the cluster as you reach it today, with rights to create and label a namespace and to deploy into it | Steps 1 and 2 use it before SXAccess reaches the API server. The agent needs the privileged level of Pod Security Admission, for NET_ADMIN and NET_RAW |
| Required | The image shown under Add device › Docker | It starts the agent and enrols it |
| Required | A 1 GiB ReadWriteOnce volume | It keeps the device's identity across restarts |
| Required | The server: line of your kubeconfig | The API server is published under that host and port |
| Required | A laptop with the SXAccess app or the CLI, signed in, and kubectl | To test from |
| Optional | CI jobs that run as root or with sudo, on VMs or in containers allowed NET_ADMIN and NET_RAW | Steps 5 and 6 |
Before you start
One pod speaks for the cluster.
Why one Deployment rather than a DaemonSet, and Services rather than the pod CIDR: see Advanced configuration.
Setup
- 1
Create the cluster's key and store it as a Secret
Access › Enrollment keys › Create enrollment key:
- Name -
k8s-prod-router. - Make this key reusable - on, so a pod that lost its volume can enrol again.
- Expires in - empty, so the key never expires.
- Usage limit -
5. Only a new device uses one, not a restart. - Temporary devices, Allow Extra DNS Labels - off. A routing device must stay listed while its pod is rescheduled.
- Auto-assigned groups - type
k8s-routers, press Enter.
Press Create enrollment key and copy the key: it is shown only once.
Run the block below, like step 2, from wherever
kubectlreaches the cluster today. It stores the key as a Secret, in a namespace that allows the agent's capabilities, and keeps it out of your shell history and manifests. Run the block in bash or zsh (macOS, Linux, WSL). Paste the whole block and press Enter once. WhenEnrollment key:appears, paste the key, and only the key, and press Enter. The key is not shown, and an empty line asks again.You see:
secret/sxaccess-key created.kubectl create namespace sxaccesskubectl label namespace sxaccess pod-security.kubernetes.io/enforce=privileged{ KEY='' until [ -n "$KEY" ]; do printf 'Enrollment key: '; read -rs KEY || break; echo; done [ -n "$KEY" ] && kubectl -n sxaccess create secret generic sxaccess-key --from-literal=enrollment-key="$KEY" unset KEY} - Name -
- 2
Run the agent as a single Deployment
Save the manifest below as
sxaccess-router.yaml, replace the placeholder with the image from Add device › Docker, and runkubectl apply -f sxaccess-router.yaml. If that command sets other variables with-e, add them underenvtoo.The image starts the agent and runs
sxaccess startwith the key fromSX_ENROLLMENT_KEYand the name fromSX_HOSTNAME.BPFis optional.strategy: Recreatestops the old pod before the new one starts, so two pods never share the identity kept on the volume.You see: after a minute,
kubectl -n sxaccess exec deploy/sxaccess-router -- sxaccess infostarts withConnected, andk8s-router-prodis under Devices ink8s-routers.Runningalone does not prove the pod enrolled.apiVersion: v1kind: PersistentVolumeClaimmetadata: name: sxaccess-state namespace: sxaccessspec: accessModes: ["ReadWriteOnce"] resources: requests: storage: 1Gi---apiVersion: apps/v1kind: Deploymentmetadata: name: sxaccess-router namespace: sxaccessspec: replicas: 1 strategy: type: Recreate selector: matchLabels: { app: sxaccess-router } template: metadata: labels: { app: sxaccess-router } spec: containers: - name: sxaccess image: IMAGE-FROM-ADD-DEVICE-DOCKER # copy it from Add device > Docker securityContext: capabilities: add: ["NET_ADMIN", "NET_RAW"] # "BPF" is optional env: - name: SX_ENROLLMENT_KEY valueFrom: secretKeyRef: name: sxaccess-key key: enrollment-key - name: SX_HOSTNAME value: k8s-router-prod volumeMounts: - name: state mountPath: /var/lib/sxaccess volumes: - name: state persistentVolumeClaim: claimName: sxaccess-state - 3
Put yourself in the platform group
The rule in step 4 lets the group
platformreach the API server. Create it with your laptop in it: People › Members › your name › Access, typeplatformin Auto-assigned groups, press Enter, then Save Changes. Repeat for each engineer. Your laptop joins at once: group propagation is on by default.You see:
platformnext to your laptop under Devices. - 4
Publish the API server
Networks › Internal networks › Add internal network: Network Name
k8s-prod, then Add Network. Three forms follow:- Add Resource - Name
Kubernetes API, which the apps andsxaccess reach listshow. Address: the host from your kubeconfig'sserver:line, withouthttps://or port. Destination Groups: typek8s-prod-api, press Enter. Then Add Resource. - Create access rule - the destination is already
Kubernetes API. Pickplatformas the source, then TCP. Click the ports field, type the port from theserver:line (443if it has none) and press Enter: the field shows it instead of All. Then Create access rule. - Add Routing Device - on Device group, pick
k8s-routers, then Continue. Leave Masquerade on and press Add Routing Device. The group also covers a pod that enrols again.
You see: the
k8s-prodrow shows1 resource,1 deviceandplatform. To publish a Service as well, see Advanced configuration. - Add Resource - Name
- 5
Give CI its own key and access rule
A second key, for runners, in Access › Enrollment keys › Create enrollment key:
- Name -
ci-runners. Make this key reusable - on. - Expires in -
90. Replace the key before then: new key, new CI secret, old key revoked. - Usage limit - empty. Every job uses one, so a limit would stop CI.
- Temporary devices - on: a finished runner is removed about 10 minutes after it goes offline. It cannot be switched on later. Allow Extra DNS Labels - off.
- Auto-assigned groups - type
ci-runners, press Enter.
Press Create enrollment key and store the key, shown once, as a masked CI secret variable named
CI_SXACCESS_KEY. Then clickk8s-prodin the networks list and press Add Access rule in theKubernetes APIrow. Pickci-runners, TCP and the same port, then Create access rule. Grant runners nothing else: a build runs code from pull requests.You see:
2in the Access rules column of theKubernetes APIrow, andci-runnersnext toplatformon thek8s-prodrow of the networks list. - Name -
- 6
Connect each job, and disconnect it at the end
On a VM runner, where the job has root or
sudo, use the block below. The start lines go first in the job;sxaccess stopgoes in the step your CI system runs after every job, passed or failed.CI_JOB_IDstands for your CI system's job number, so each runner gets its own name.A job in a container has no service manager, so use the block after these steps: it starts the agent itself, then waits for it to answer. It needs root,
NET_ADMINandNET_RAW; where your CI cannot grant them, as on most shared container runners, use a VM runner.You see: while the job runs, the runner is under Devices as
ci-plus the job number. It is gone about 10 minutes after the job ends.# Start of the job, on a VM runner.curl -fsSL https://pkgs.sxaccess.com/install.sh | shSX_ENROLLMENT_KEY="$CI_SXACCESS_KEY" sxaccess start --hostname "ci-$CI_JOB_ID"# End of the job, passed or failed: your CI system's after-job step.sxaccess stop
# Start of a job in a container: as root, with NET_ADMIN and NET_RAW.# The script can fail at the service step, after installing sxaccess.curl -fsSL https://pkgs.sxaccess.com/install.sh | sh || command -v sxaccess# Start the agent unless one answers already, then wait up to a minute for it.sxaccess info > /dev/null 2>&1 || { sxaccess agent serve & }n=0; until sxaccess info > /dev/null 2>&1 || [ "$n" -ge 15 ]; do n=$((n + 1)); sleep 1; doneSX_ENROLLMENT_KEY="$CI_SXACCESS_KEY" sxaccess start --hostname "ci-$CI_JOB_ID"# End of the job, passed or failed.sxaccess stop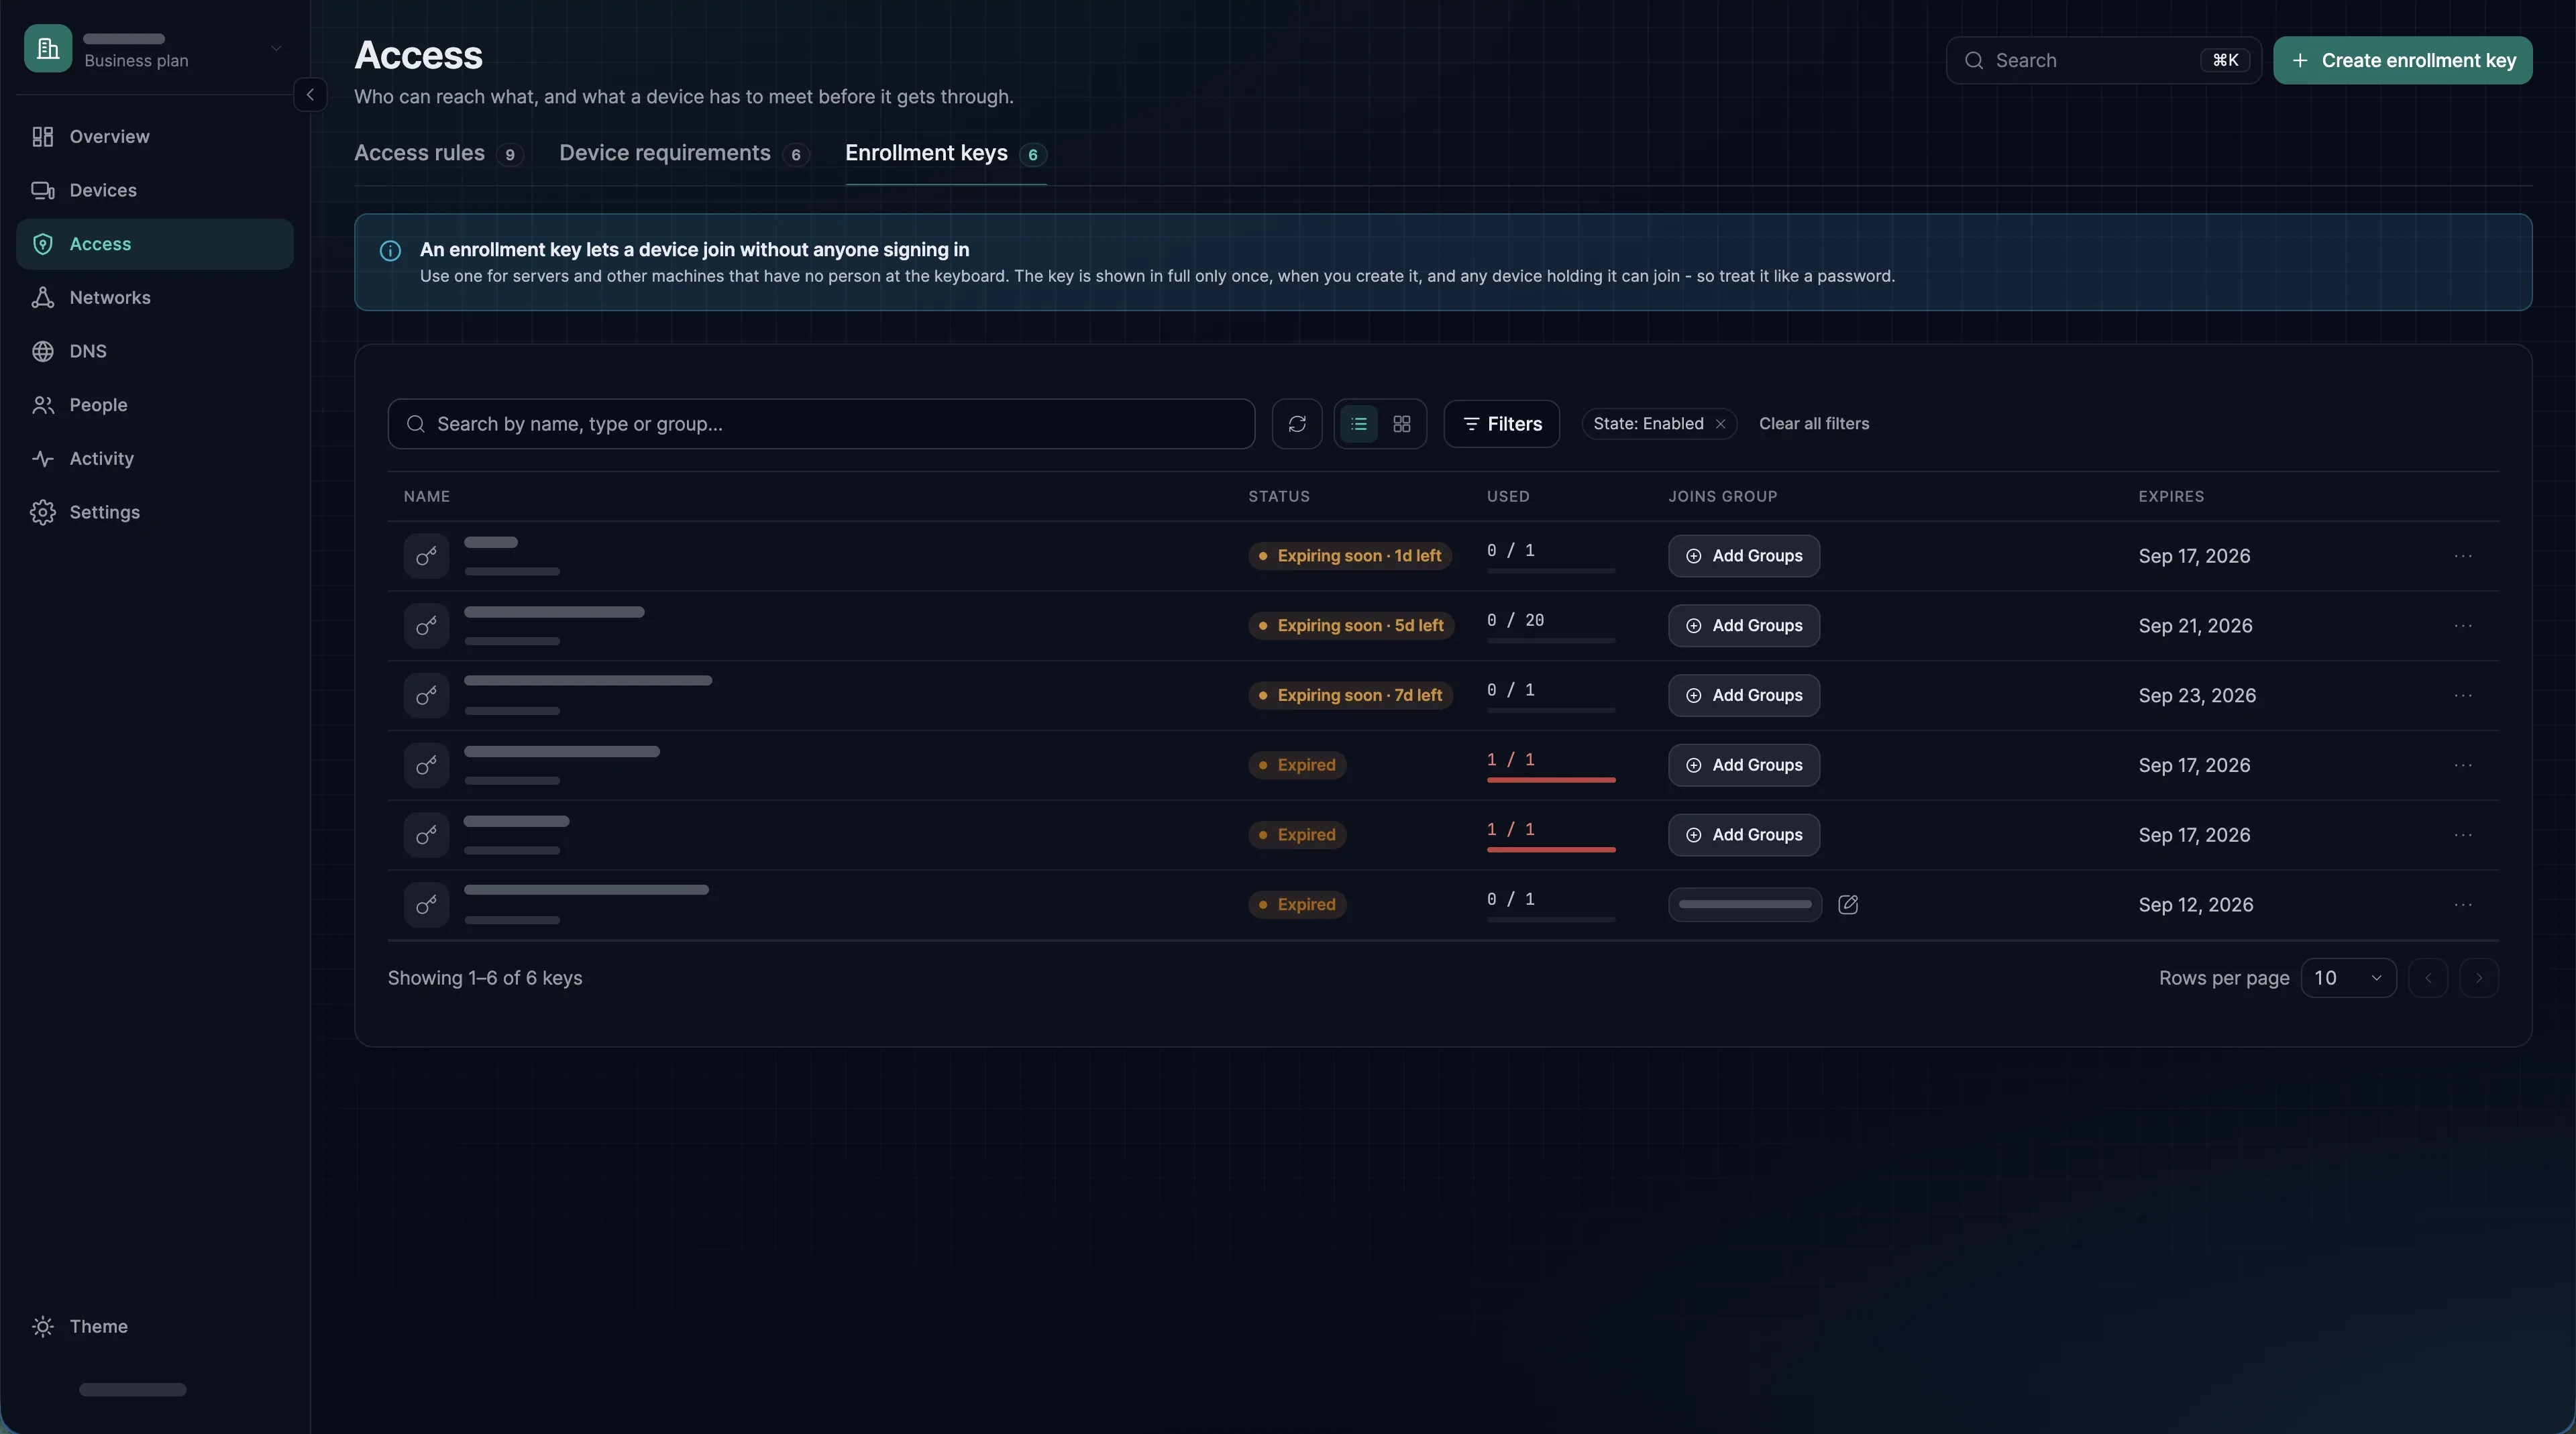
Verify
Test from your laptop in platform, then from a device outside it, then from a CI job.
Expected result
kubectl get nodes works from the laptop, with no bastion and no public endpoint. The SXAccess app lists Kubernetes API under Resources; with the CLI agent, sxaccess reach list shows it with state: Selected.
Then check what should fail
On a device in neither platform nor ci-runners, kubectl get nodes fails: it times out, or the name does not resolve. No second device? Take platform off your member page, try, then put it back.
Then check CI
A job that runs kubectl reaches the API server, and its runner leaves Devices about ten minutes after the job ends.
kubectl get nodesTroubleshooting
The first three are specific to running inside a cluster.
| Symptom | Likely cause | What to do |
|---|---|---|
| No pod is ever created | Pod Security Admission rejects the capabilities; the ReplicaSet's events say so. | Label the namespace privileged (step 1). kubectl -n sxaccess describe replicaset |
| The pod restarts in a loop (CrashLoopBackOff), and its device is listed but offline | A capability is missing at runtime, typically NET_RAW: the agent enrols, then cannot bring up its interface. | Add NET_ADMIN and NET_RAW. kubectl -n sxaccess logs deploy/sxaccess-router |
| A new device appears at every restart | No persistent volume, so the pod enrols again at every restart and uses up the key. | Mount a PersistentVolumeClaim at /var/lib/sxaccess |
kubectl times out, though Kubernetes API is listed | The server: line names another host or port than the resource and its rule. | Make them match. Step 4 |
| A cluster DNS name does not resolve | The routing device resolves domain resources through the cluster's DNS. | kubectl -n sxaccess exec deploy/sxaccess-router -- nslookup <name> |
A CI job stops at the install line, or says cannot reach the SXAccess agent | The job runs in a container with no service manager. | Use the container block after step 6 |
| Runners pile up under Devices | The CI key lacks Temporary devices, or the jobs ended less than 10 minutes ago. | Create a new key with it on, update the CI secret, revoke the old key |
| Still stuck? | Take the connection apart one stage at a time. | Trace why a connection is blocked |
Advanced configuration
One Deployment, and Services rather than pods
A DaemonSet would enrol a device for every node it scales to; the cluster needs one routing device. Pod addresses are reassigned constantly, so a published pod CIDR soon points at the wrong pods: publish Services, or the whole Service CIDR, and put a Service in front of any pod you need.
To publish a Service, click k8s-prod in the networks list and press Add Resource. Give it a Name and, as Address, the Service's cluster IP or <service>.<namespace>.svc.cluster.local, which the routing device resolves. Then press Add Access rule in the new resource's Access rules column.
Surviving a node failure
With one replica, access returns once the pod is rescheduled and its volume has followed. A ReadWriteOnce volume on zonal storage only attaches in its own zone, so the pod can only come back there. For faster failover, run a second Deployment with its own volume and hostname in another zone: it joins k8s-routers with the same key.
Gating cluster access on the laptop
Attach a device requirement to the platform rule: cluster admin is the access most worth tying to a compliant laptop.
More clusters, and the VPC around them
Give each cluster its own network, key, group and hostname. A VPC you also want reached is a separate network with its own routing device: see AWS EC2 and cloud VPCs.